Starting with version 8.0, UCCX is based on the same hardened Red Hat Enterprise Linux version that CUCM and Unity Connection are based on. The install follows the same steps that they do. Since UCCX is still licensed based on license MAC, pretty much everything you enter here will be used to calculate the license MAC, so make sure you have the correct settings.
Select “Proceed” to the perform the platform configuration. If you select “Cancel,” the install will proceed without configuring the platform. When the server is booted again, it will prompt you to complete the platform configuration. This is useful to stage subscribers, or deploying remote servers where you cannot complete the install.
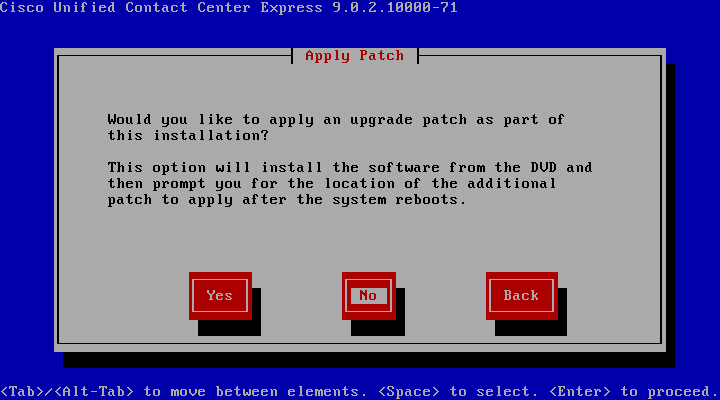
The install offers you the ability to apply a patch during install. This would mainly be used if you don’t have a bootable image for the version you are installing, or you are installing a subscriber that needs a patch to match the publisher. If you select yes, the install will proceed through most of the OS install without further prompts, then prompt you for a patch location (local CD, FTP, or SFTP), apply the patch, and allow you to continue the platform configuration.
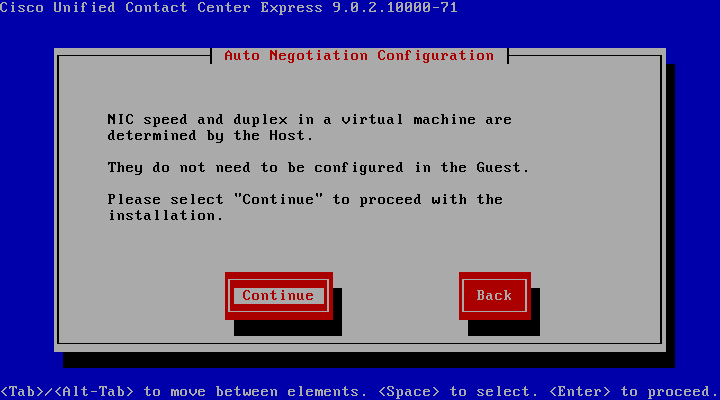
Not much to say. Click Continue.
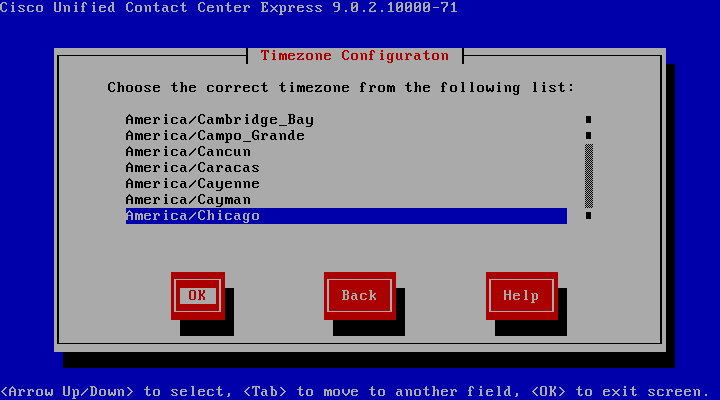
Select the local timezone.
If you are installing on an MCS or equivalent server, you can set the NIC speed and duplex. In VMWare, it will always be auto/auto.
You can change the MTU size if needed.
Enter a hostname and IP addressing information. UCCX does not support changing the hostname after installation, so REALLY make sure this is what you want it to be.
Enter at least a primary DNS server and your domain name.
Enter the platform administrator and password. This is used to log into the CLI, end the OS Administration and Disaster Recovery System web pages.
Enter the certificate information. If you are planning to install a commercial CA certificate, make sure these fields match that certificate, including proper case.
For the first node, select yes. For a subscriber, select no. Note this is the first node in the UCCX cluster; UCM or Unity Connection are their own clusters.
For the first node, you must enter at least one reachable NTP server for the installation to continue. Select “Test” to make sure the NTP server(s) are reachable, then “Proceed” to continue.
Enter the database security password. This will be used by the subscriber, and is needed to restore the server if needed.
Enter an SMTP server if needed. This is used for things like sending alerts with RTMT.
Enter a username and password for the application user. This is the username you will use the first time you log in.
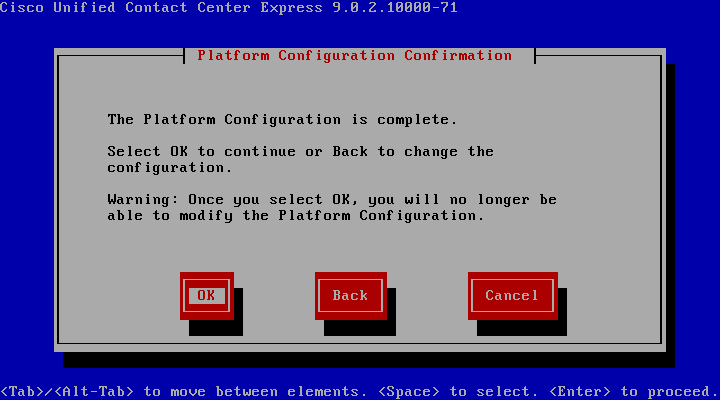
Platform configuration is now complete. Once you select OK, you will get to watch a lot of install screens go by…
Once the login screen appears, you will be able to log into the web administration page, but that’s another post.
Check out the rest of my UCCX posts here.


Pingback: UCCX Automatic Call Distribution (ACD) Part 1 | Route, Switch, Blog
Great Post!
Could you explain how to upload the license and locale installer about UCCX on BE6K/7K?
Pingback: Cisco Unified Contact Center Express (UCCX) Initial Setup | Route, Switch, Blog