Mobile Connect is Cisco’s trade name for what is often called Single Number Reach, or SNR. It extends a call to a user’s desk phone out to up to ten other phones, such as home and cell phones. This allows an employee to disseminate a single number, which can always be used to reach the user. This benefits customers and business partners, since they don’t need to try multiple numbers to reach someone, and the employee, since there is no way for the caller to know if you are in the office, at home, or on a golf course.
To do this, UCM makes calls to the PSTN for each off net destination, which requires some planning.While a call is being extended, this ties up one channel per remote destination, up to 10, plus the incoming call, if it is a PSTN call. Once the user answers on a remote device, up to 2 channels are taken up, one for the inbound call, one for the remote device, assuming they are both PSTN devices. The additional trunk usage should be taken into consideration before enabling Mobile Connect.
System Setup
The only real non-default setting for mobility is to create a new softkey template that includes the Mobility softkey. Normally, I would copy the “Standard User” softkey template to something like “Mobility User” and add the Mobility softkey to the On Hook, and Connected call states.
User Setup
Setting up Mobile Connect can be a bit frustrating due to some order of operation considerations. To remember the order of operations, I use the mnemonic UPPeD, standing for User, Phone, (Remote Destination) Profile, and (Remote) Destination.
User
Find the end user, and check the “Enable Mobility” checkbox in the Mobility Information section.
Phone
Change the Owner User ID to the correct username.
Set the softkey template to the one you created earlier.
Remote Destination Profile
This is where you kind of tie everything together, although you have to create it before the last piece, the Remote Destinations.
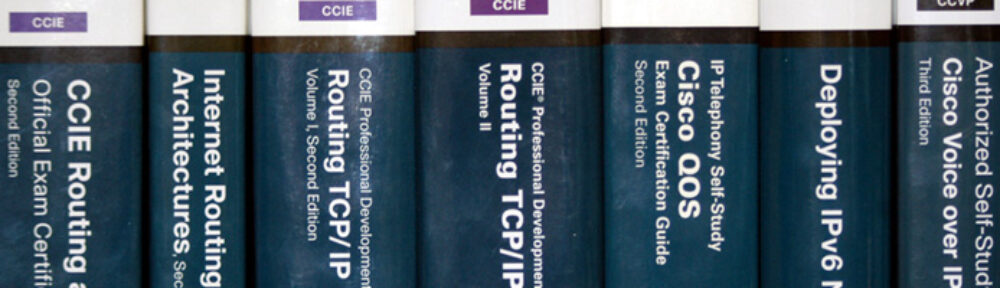
The configuration page for Remote Destination Profiles is under Device > Device Settings > Remote Destination Profile.
The important fields here are:
- Name – A unique name for the RDP
- Description – Free form text description
- User ID – Links the UDP to the CCM User. This is also important for licensing, especially in 9+ version
- Calling Search Space – this applies to calls using Mobile Voice Access, and Enterprise Feature Access calls
- Rerouting Calling Search Space – Used for the calls extended to remote phones
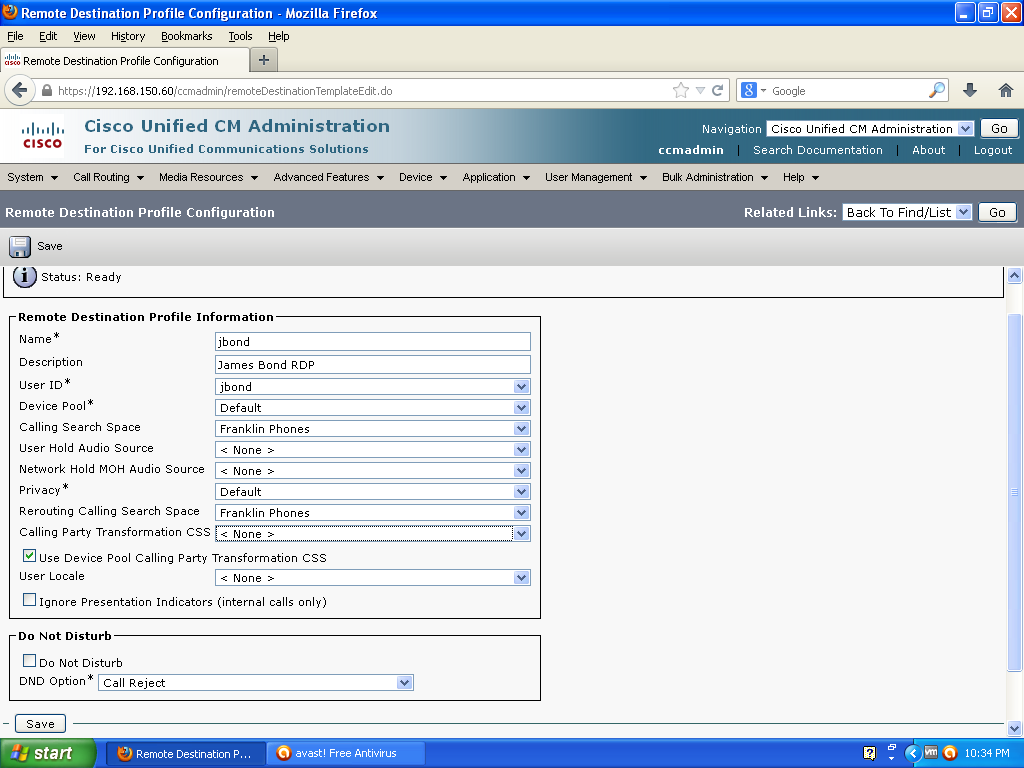
Once you save the RDP, you can add one or more DNs that will be extended to remote destinations, and one or more remote destinations.
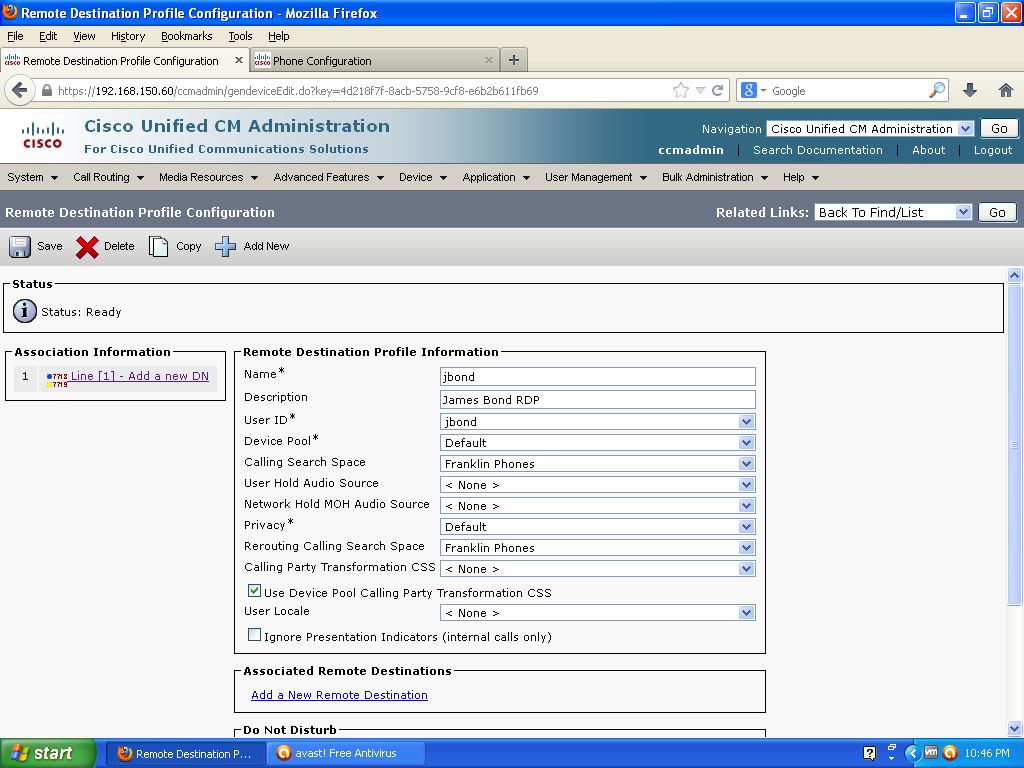
The DNs are configured the same way they are on phones. Since this is usually configured after user’s phone, everything but the call ID information should populate once you select the DN and Partition.
Remote Destination
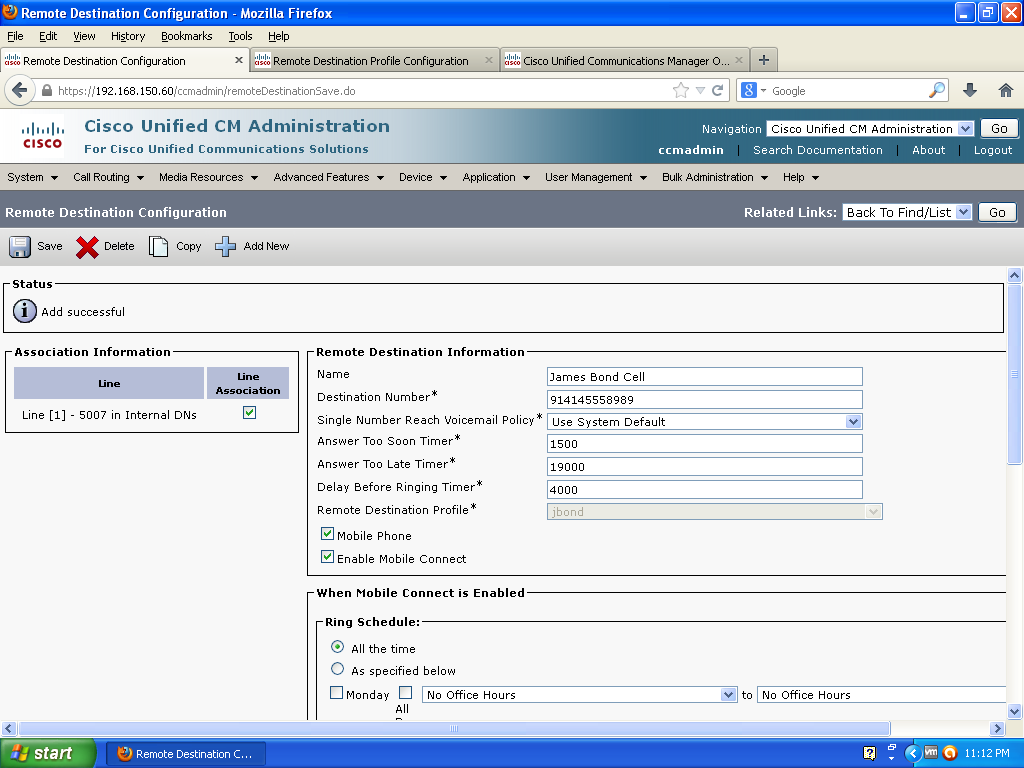
Important fields in Remote Destination:
- Destination Number – the full number, including access codes, to dial to extend calls.
- Answer Too Soon Timer – This attempts to detect calls that go too a remote voicemail. If the call is answered in less than this timer, it is probably a voicemail system, and the call is disconnected.
- Answer Too Late Timer – This is the maximum time to extend a call to a remote destination, beyond which it has probably been extended to a voicemail system.
- Delay Before Ringing Timer – This is the time before extending a call. In my experience, this can probably be reduced, due to the time it can take to set up a call to a cell phone.
- Mobile Phone – If a user is on a call on their desk phone, and press the Mobility softkey, calls will be extended to this RD.
- Enable Mobile Connect – Use this for Mobile Connect.
- Ring Schedule – The remote destination can be set to only ring at certain times, preventing calls from being extended over the weekend, for instance.
- When receiving a call during the above ring schedule – Select always ring, or create an access list (Call Routing > Class of Control > Access List) to limit which calls can be extended.
In my case, all the timers where adjusted and the delay before ringing timer has been adjusted to 0, and still there is a long time delay until the remote destination starts ringing.